|
|
Article ID: 173
Last updated: 18 Jan, 2024
Most of Cable Matters USB Ethernet Adapters feature support for UEFI PXE boot. In this knowledge base article, we will guide you through the step-by-step process of starting a Windows PE (Preinstallation Environment) system using PXE (Preboot eXecution Environment) IPv4. Applies To: This guide applies to Cable Matters products with a Realtek Ethernet Chipset. Cable Matters products with the ASIX chipset (202313/202069) do not support PXE Boot. This guide applies to the following products:
General Information: Windows PE is a lightweight operating system that allows you to perform essential tasks, such as system recovery, troubleshooting, and deploying operating systems. The latest laptops can only support UEFI boot, not Legacy PXE boot. Similarly, Cable Matters products with the Realtek Chipset only support UEFI PXE boot, not Legacy PXE boot. The key difference between UEFI PXE boot and Legacy PXE boot lies in the firmware used to initiate the boot process. Unified Extensible Firmware Interface (UEFI) is a newer and more advanced firmware standard that offers advantages such as improved security, faster boot times, and support for larger boot partitions. Legacy BIOS, on the other hand, is the older firmware standard with fewer features and limitations in booting capabilities. Instructions: Step 1 Download the PXE server startup program onto your server computer(administrator computer) Download link:https://reboot.pro/files/file/303-tiny-pxe-server/
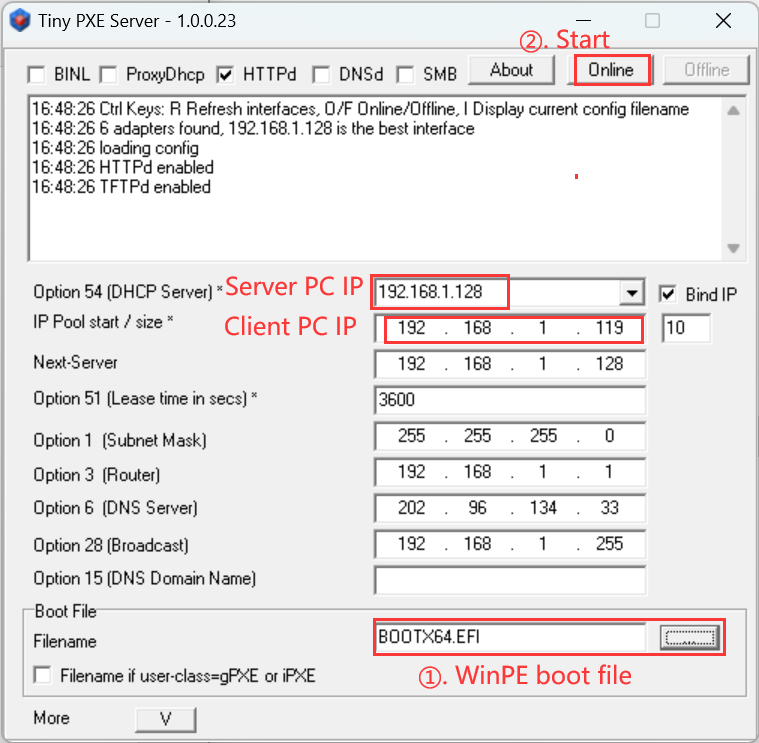
Step 2 Download the Windows PE image file onto your server computer Download link:https://learn.microsoft.com/en-us/windows-hardware/manufacture/desktop/winpe-create-usb-bootable-drive?view=windows-11 Step 3 1. Connect the server computer to the DHCP router(Presume the IP address is 192.168.1.1) 2. Connect the client computer to the same DHCP router through a Realtek network card such as 202013/201013. Step 4 Start the PXE Server and set the server computer IP and Windows PE startup file as shown below:
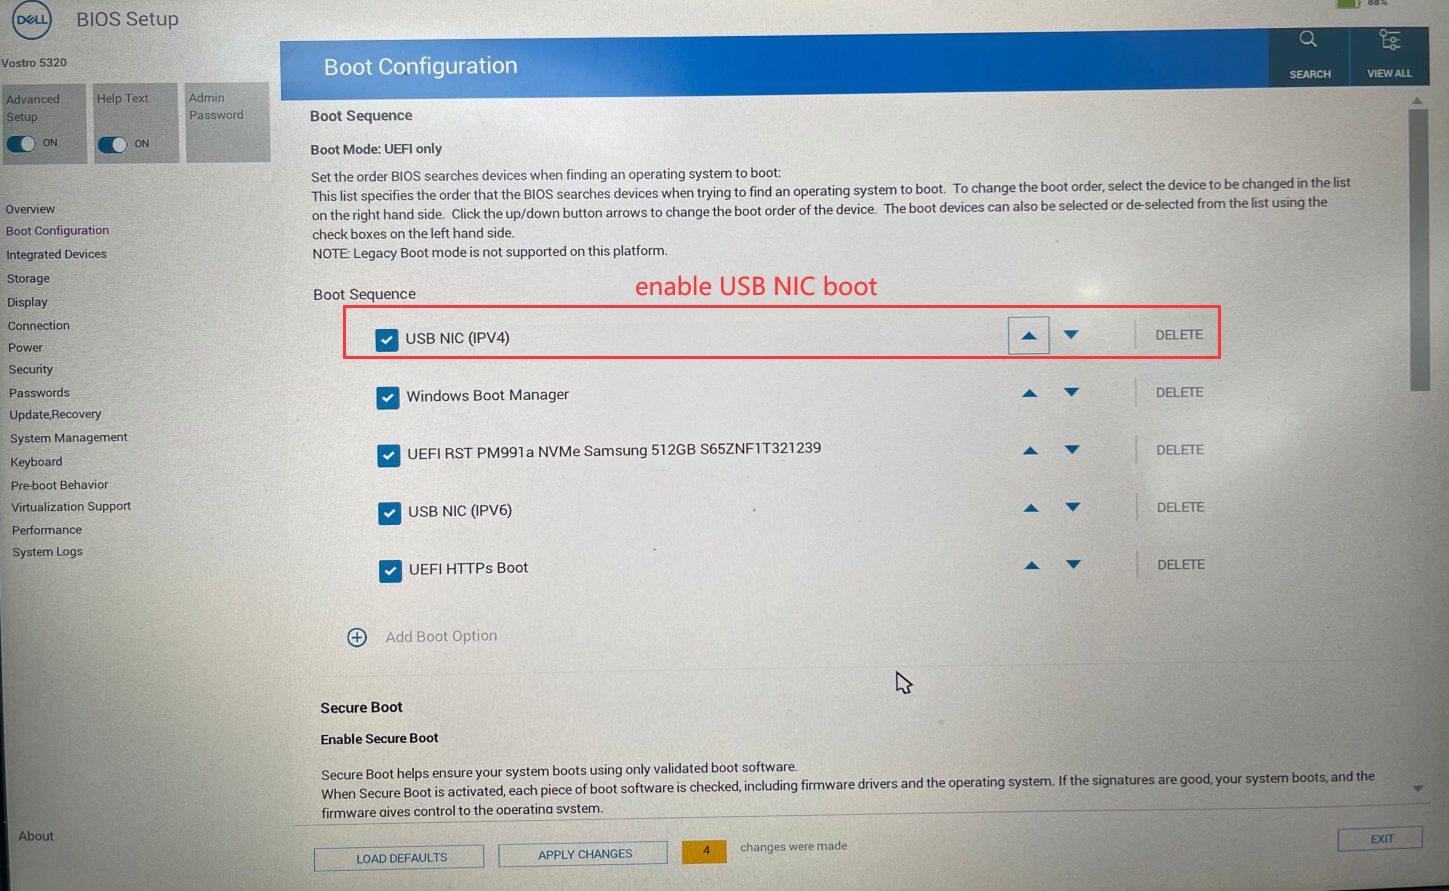
Step 5 For the client computer, please allow UEFI booting through the USB network in the BIOS settings, as shown in the image below:
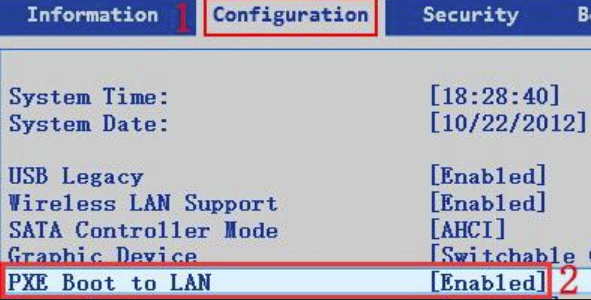
Or as shown below:
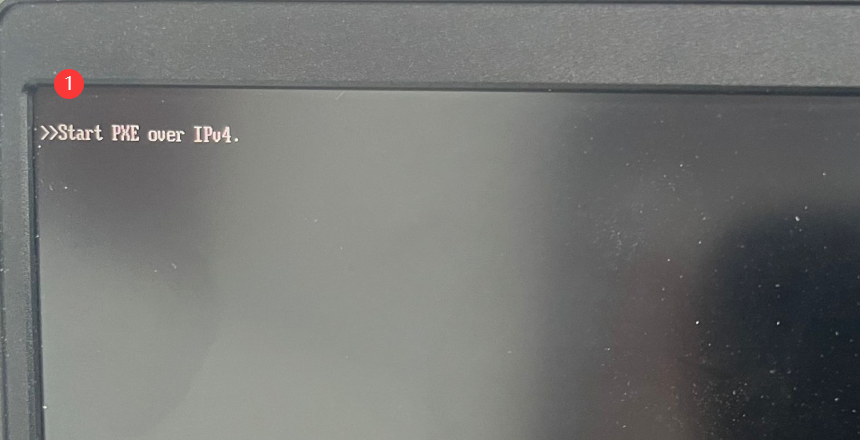
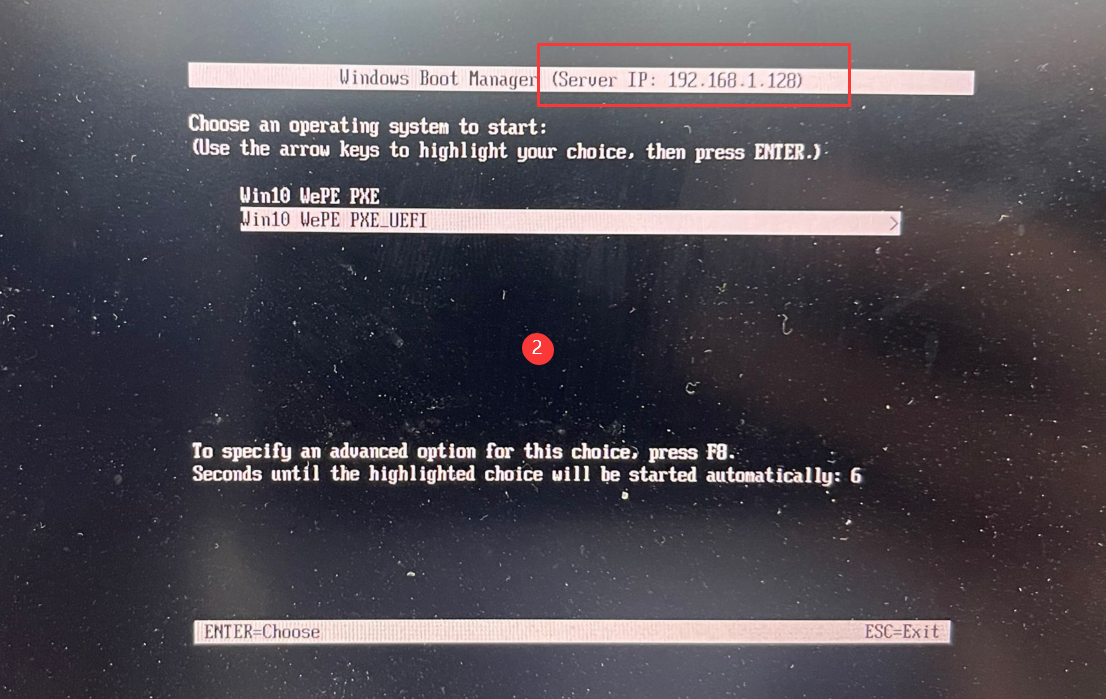
Step 6 Start the client computer and enter the PXE IPv4 boot interface.
Select the desired OS to start the system.
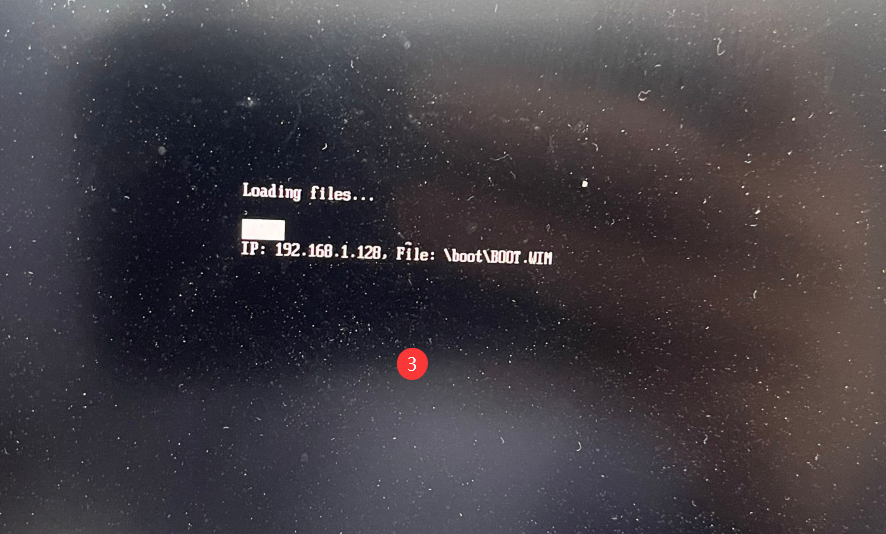
The operating system is loading.
Entered PE system.
You can also boot other operating systems through PXE IPV4 booting in the same way(Please download the startup system files first).
Article ID: 173
Last updated: 18 Jan, 2024
Revision: 4
Tags
Also listed in
|